I gave up the idea of "having it all" when I was 35. I was single, never thought I would get married - let alone have a family one day. My career was going great, I was exercising and maintaining my perfect body, going out with my girlfriends, traveling the world and fixing up my house.

Flash forward to 2010 and I am married (5 years), have a 4 year old son and a successful career. My perfect body has long since left me, I still want to see the world, grow my career, enrich my relationship with my husband, raise my son to be a great man and make my home look and feel like Martha Stewart was just there. I spend a majority of my time "striving 2 B supermom" which means I am trying to find a way to juggle a career, marriage and family and maintain some level of sanity!

Is it really possible to "have it all"? Most days are full of laughs, stress, craziness and some fun, but it's overwhelming to try to fit everything in before bedtime. This is my world - my daily strive to become "supermom". It's a combination of my stress, happiness, shortcuts and planning that help me get through the week. This is for all you gals "striving 2 B supermom" too!

Amalfi Coast - Second Stop Positano!

Now that we finished our visit to Agropoli, it was time to head to Positano.  We drove the rental car from Agropoli to Salerno and dropped it off in downtown (that was fun...beware, more crazy driving and navigating).  We walked from the car rental office down to the marina to catch a boat to Positano.   We took the boat and arrived less than 2 hours later.  Upon arrival in Positano, we searched around to find someone to take our bags up the hill and stairs to our hotel (trust me - you won't want to take your bags yourself...Positano is built on a hillside and it's a hike up!).


Positano is a stunning little coastal town which holds special memories for me (my husband and I got married there in 2004!) so going back this tine wit my mom and my son was incredible! 
Our hotel was called Villa Rosa.  On a previous trip to Italy we stayed at their sister property called Villa La Tartana which we loved.  This time we selected Villa Rosa because they could offer a 2 bedroom and 2 bath suite with a large balcony with view.  Since my mom and son were with us this time, that made the most sense.  To reach the main lobby there were stairs going up to a doorway and stairs going back down to get in the lobby (stairs are unavoidable in Positano!).  The staff was nice enough to let us store our stroller in the lobby so we would not have to carry it up and down the 3 flights of stairs to our room.
Our breakfast was served each morning on our patio overlooking the sea.  The breakfast consisted of rolls, croissants, orange juice, milk, cappuccino and assorted jams and spreads.  We went to the store and bought some Italian salami and cheeses to add to our breakfast.  The room offered a refrigerator which was great to keep our salami and cheese fresh as well as for beverages or snacks for my son.


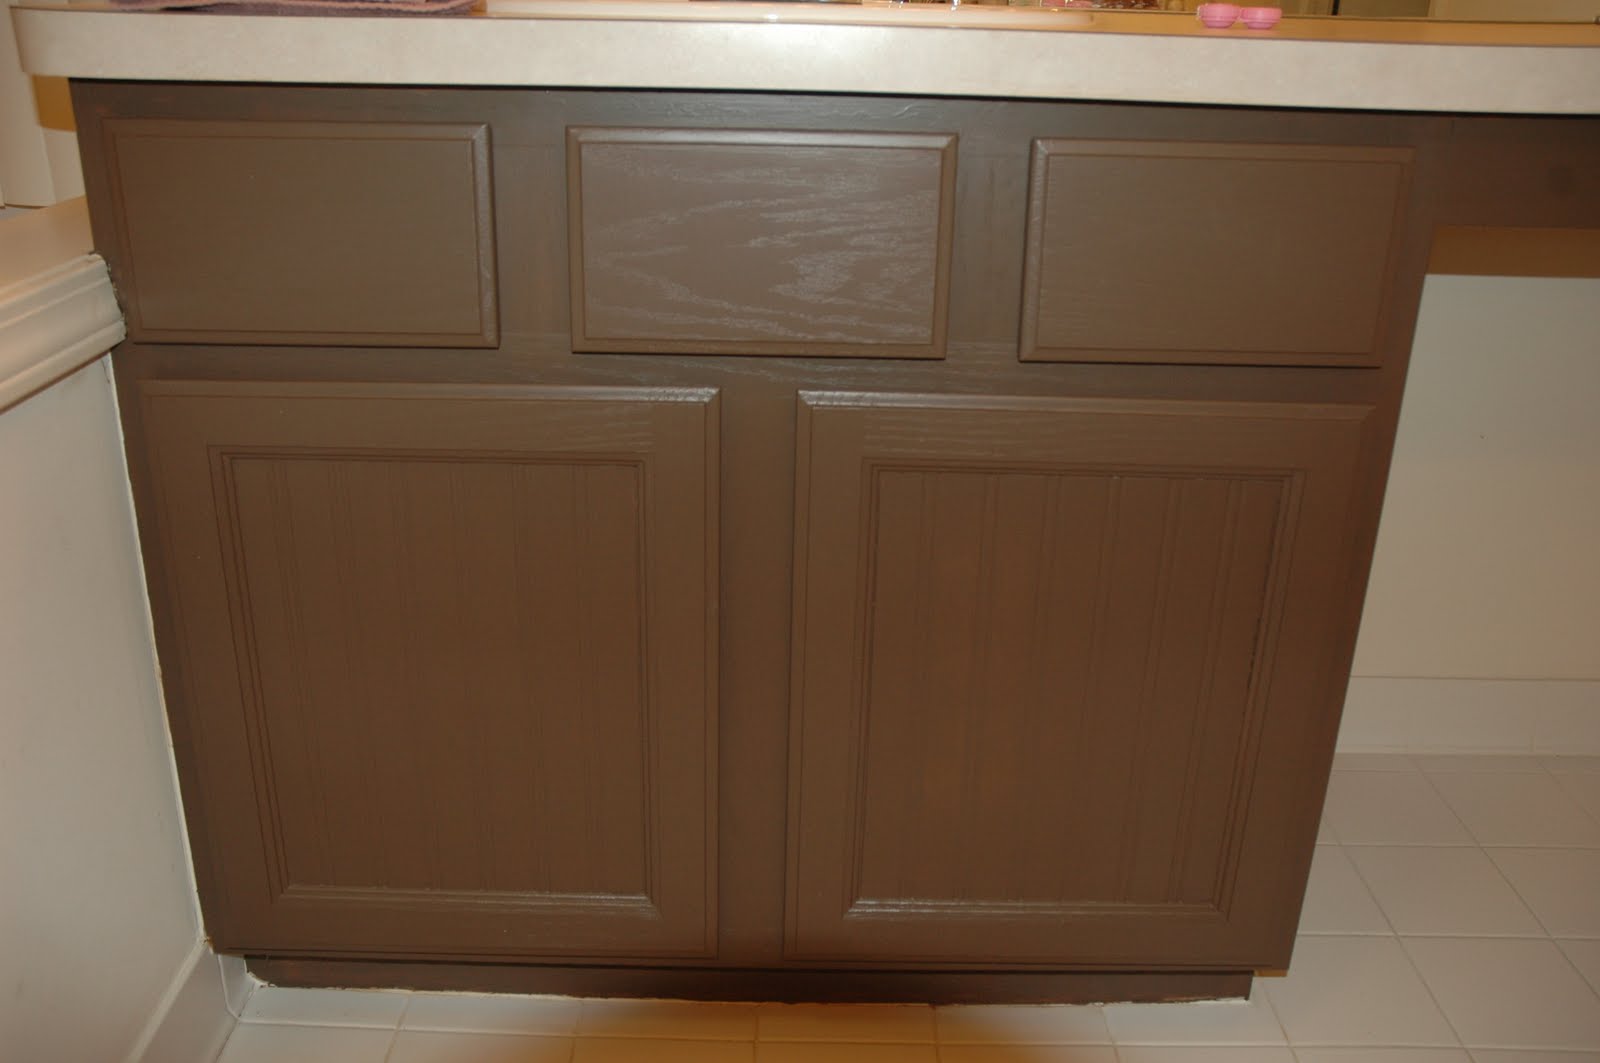
One of our bedrooms in our 2 BR suite at Villa Rosa in Positano


The location of the hotel was good.  It was not too far from the main square which made it convenient to the bus.  To get to the waterfront where the boats are, it was a 10-15 minute walk down the hill and stairs.  As I mentioned before, there are few places you could stay in Positano to avoid stairs. 
Our Itinerary:  We arrived mid-day on a boat from Salerno to Positano.  Upon arrival, we got someone to take our bags to our hotel.  Yes it was expensive, but with my mom, a 2 year old, car seat and stroller, we did not care how much it cost!  There are services available near the dock area if you ask around.  Once we checked in, we set out for lunch (go figure).  My husband and I went out and picked up some pizza and desserts for lunch and brought it back to the room.  We ate on the balcony overlooking the sea!  What a treat!

Later that afternoon, my mom and son wanted a rest, so me and the hubby walked around Positano remembering our wedding from our last visit.  We went to Tre Sorrelle right at the waterfront and had a glass of wine and relaxed.  We hit a few shops and headed back to the room.
Now it was time for dinner.  We headed out to Bruno's right near the hotel. 
At Bruno's we had some pasta and wine.  It was reasonably priced and offered outside seating.  It is located at Via Christoforo Colombo, 84017 Positano.  This restaurant had good food for a reasonable price and even offered Gluten Free pasta!  (we did not need that, but it's nice to know for others with gluten allergies).  After a late dinner, we relaxed in our room and sat on the terrace with a glass of wine.


My little one enjoying spaghetti at Bruno's in Positano


More views of Positano
 

Views of Positano from the ferry dock and beach area
 
On the next day we got up and enjoyed breakfast on the terrace and got ready for our day in Amalfi and Ravello.  We hopped on the bus from Piazza Mullini and headed for Amalfi.  The bus ride from Positano to Amalfi is like nothing you have ever experienced.  I called the bus "the scary bus".  You have to picture why this ride is what I consider scary.  All the towns on the Amalfi Coast are built up the side of hills so the road is winding all around each of the very large hills that hug the coast.  The road twists and turns like crazy and is extremely narrow in some spots making it only passable by one car (total..not one car for each direction).  The driving is insane and "scary" as is the fact that the road hangs over many cliffs.  The scenery is simply stunning and like nothing you will ever see.  Every time you turn another bend in the road your eyes will widen and you will think it is the most lovely view you have ever seen.  This continues all along the scenic but oh so scary bus ride until you reach Amalfi.  The ride takes about 20 minutes.  If you want to film or take photos, sit on the right side of the bus so you are along the water.  As scary as it is (especially since I am afraid of heights), it is amazing.  I white knuckled it all the way and saying a few prayers, but took in every second of the spectacular, scary views!  You MUST take the bus at least one way between Amalfi and Positano while you are there......the boat offers great views, but do not miss the bus trip!  My son still talks about the "scary bus" a year later!

Upon arrival in Amalfi, you can easily walk a few minutes from the bus stop to the main piazza by the church.  You will walk up the main street visiting shops, restaurants, pastry shops and markets.  It's a fun stroll without all the stairs that Positano has.  We spent a few hours strolling and then went back to the bus stop to catch the bus up to Ravello.


Views of the beach in Amalfi - with the Star Clipper sailing cruise ship offshore
 

One of the shops in Amalfi
 

The square and church in Amalfi


One of the many little markets in Amalfi


As if the bus ride from Positano wasn't scary enough, the bus ride to Ravello is nuts!  You go even higher up the hillside, winding back and forth to the top to reach Ravello.  I was so scared, but the views are absolutely incredible!  We walked around and finally decided on a lunch break.  We found a cafe in the little piazza and had some pannini's and wine outside while taking a break.  After a late lunch we walked arounda bit and started our journey back to Positano.  The busses get really crowded coming back late in the day and you may have to wait for another bus just to find a spot!  Plan early to get back.  I suggest doing Ravello in the morning and ended the day in Amalfi to avoid this problem.  If you do head from Positano to Ravello, you will still need to change buses in Amalfi.  Check out the SITA website for bus schedules.


Ravello Shops


The square in Ravello where we had lunch


Me and my little one strolling and shopping in Ravello


Tonight was a special night for us.  My mom insisted that my husband and I have dinner alone in our special town (we were just a few months shy of our 5 year wedding anniversary) since the last time we were there was for our wedding.  I did not know, but my husband had made reservations at Caffe Positano, which is where we ate on our wedding night.  He had reserved a balcony table - just like on our wedding night. They have 2 tiny balconies each with a small table for two.  It was romantic and special since we had been there before.  We started our dinner with a glass of prosecco and some antipasti and sat outside and enjoyed a nice dinner.  The food is good there and the prices are reasonable.  You can check out the website for more information:    http://www.caffepositano.it/


The next morning we were off to Capri!  Capri is a beautiful island and an easy day trip from many towns on the Amalfi Coast.  With a quick boat ride you can be there in 30-40 minutes.  Check the Metro del Mare website for schedules and prices. 


Me and my little one at the ferry dock in Positano waiting for the ferry to Capri


The views of Capri upon arrival by boat


Views of Capri
 Once you arrive in the marina, there is a small tourist information center.  If you head in there you can buy a good map of the island for about 2 euros.  The map also has several hiking routes on it which we did on a previous trip (and they were incredibly scenic!). Now you need to take the funicular (tram) up to the top and see the town.  Once up top, the views are great!  There is also a little gelato stand if you are in need of some!

We walked around town and browsed the shops and took in the scenery.  Later, we found a nice little restaurant for lunch. 

The restaurant was great and very accommodating (making room for my stroller while my son was sleeping during lunch). After an afternoon of Capri, we were ready to head back to Positano for the night - our last night there. 


views of Positano as we boat in from Capri
 For our last night in Positano we wanted to eat at La Tagliata (we have eaten here before).  The views are spectacular and the food is really good.  Two brothers run the restaurant - we remembered them from our last visit.  Reservations are a must and they will provide transportation from Postiano for free.  This is a MUST while in Positano. 


The views from La Tagliata

The place settings are even pretty at La Tagliata!

Buffalo mozzarella appetizer at La Tagliata
 The dinner there can be off the menu or family style.  We didn't realize that when the hotel made our reservation they set it up for family style.  Once we were seated, food began to arrive.  Food and more food!  It was so much food - I have never seen that much food on one table for four people!  They started with bread - then appetizers started arriving.  There must have been 10 appetizers - cheeses, mushrooms, bruschetta, salami's, etc.....I can't even remember all ten of them!  Then, a huge platter of assorted pastas arrived.


Platter of pasta at La Tagliata
 After the pasta, then a huge platter of meats arrived.  There were so many meats on there - veal, chicken, beef, rabbit, sausage and more.  We could barely make a dent in the platter since we were so stuffed from all the other foods we had! 

Dessert arrived on a platter with small little pieces of four different desserts......so yummy!  We enjoyed the views and our huge meal and will have wonderful memories of our last night in Positano!  In the morning, we were off to Rome!

Chicken and Green Chili Burritos

This is one of my favorites. If you choose to make it for guests, you can prep some before. I usually get the burritos assembled in the pan and wait to pour the sauce over the top right before putting in the oven so the sauce does not absorb into the flour tortillas and dry things out.

4 Large chicken breasts
4 cloves garlic, minced
1 onion chopped fine
4 T Olive Oil
2 T Flour
2 Cups Chicken Broth
16 ounces low fat or fat free sour cream
1 cup shredded low fat cheese (cheddar or similar)
1 four oz can diced green chili peppers
6 large flour tortillas
Cumin
Salt
Pepper
Onion Powder
Black olives, jalapenos, diced tomatoes and green onions as garnish if you want

Season boneless chicken breasts with cumin, salt, pepper, garlic powder and onion powder on both sides. Heat 2 T olive oil in large skillet. Saute chicken on both sides over medium heat until cooked. I usually keep it covered so it does not dry out.

While chicken is cooking, in a large skillet, heat 2 T of olive oil. Add in garlic, onion and 1/2 tsp cumin. Cook over medium heat until onions and garlic are soft. Add in flour and toss around. Add in sour cream and blend. Add in 2 cups chicken stock and green chilies. Blend and then add in 1/2 cup shredded cheese. Once sauce is thickening and bubbling, remove from heat.

Dice up chicken into small pieces and place in a bowl. Add about 2/3 cup of cheese, onion mixture into bowl with chicken and toss to coat. Lightly grease a 11x13 casserole dish with olive oil. On a work surface, lay out 1 tortilla. Add about 1/6 of chicken mixture. Top the chicken with a large spoonful of cheese and onion mixture. Roll up tortilla and place in casserole dish with seam on the bottom. Tuck ends downward. Finish remaining tortillas and place in pan. Pour remaining sauce over top and cover with tin foil. Bake at 350 degrees for about 40 minutes. Top with remaining cheese and bake uncovered for 5 minutes.

Serve each burrito on plate and top with any garnish you like (black olives, green onions, tomatoes or jalapenos). Serve with sour cream and fresh salsa or pico de gallo.

Side serving suggestions - black bean and corn salad, refried beans or Mexican rice.

Variation: add in 1 can of rinsed black beans to the chicken mixture before filling burritos. It will make an additional burritos and add more fiber!

Enjoy!!!

Bathroom Cabinet Makeover!

Well, I don't consider myself to be really handy or anything, but I got fired up to try this project on my own. I have the cheap, golden oak, builder's grade cabinets in my entire house and I just don't like them. I planned to replace the cabinets until I realized the previous owners tiled around the cabinets so that would potentially require me to pull up the master bath tile floor.....and that's not going to happen any time soon! I set out to find a way to change the look of these cabinets at a low cost and do a master bath mini makeover. This is the first step...rejuvenate those ugly cabinets!

Here is what the cabinet front looked like before:


I found this paintable beadboard wallpaper online and decided to give it a try. My plan was to wallpaper the really grainy, recessed part of the cabinet door facing to give it a better look. The wallpaper was ordered online from Home Depot for about $25 and had free shipping. It arrived a few days later.


Step One:Sand cabinets and wipe them down. I did not sand them much, it just took a few minutes to sand each door. I made sure to sand all parts including the edges along the side and the inside of the doors. I then wiped them down to remove all of the dust with a damp cloth and let them dry.

Step Two:
Prime cabinet for the wallpaper. I put one coat of this wallpaper primer on the recessed part of the cabinet door with a paint brush and let it dry overnight.


Step Three:
With a paint brush or paint sponge/brush, put a good layer of wallpaper glue on the recessed part of the cabinet door.


Step Four:Cut wall paper a few inches longer than needed. ONLY cut horizontal across the wallpaper...I plan on using the side edges to make sure there was a good, clean edge that would allow the paper to be lined up level with the door. Once you place the wallpaper on the side, push the top up into the corner as far as you can on the recessed part of the door and use a box cutter to trim any excess or uneven parts. Do the same across the top and on the other side and bottom. Use a wallpaper seam roller to roll all over to remove any air bubbles. Wipe off any excess glue at the sides with a damp cloth. Let wallpaper dry overnight.


Step Five:
Paint! I used a small, super fine roller with some good quality Benjamin Moore paint in a satin finish. I used the color "Espresso" for my project, but you can use any color you like. I did about 3 coats of paint - but no primer on mine.


As far as the cabinet base and drawers, remove drawer fronts and sand them. Wipe clean and paint...again about 3 coats did it for me. I did the same with the cabinet base. I did all 3 coats in one day...it did not take long to dry.

Here is the final result.......drum roll please! :)

This is just the first step in my ugly master bath mini makeover. Stay tuned for the next steps to master bath beauty!


My advice...go for it. I had NO idea if this would work or how it would look and I am completely pleased with the results. All of the supplies cost me about $100. I have enough stuff leftover that I can do the same thing with our guest bath - for that all I need is one quart of white paint so it will cost hardly anything. So essentially for about $115 I will have done both bathrooms. All I have to do now is get some nice cabinet pulls and it will be complete. I hope this inspires you to try something new and have some confidence that it will come out great!